Fan Mod on HBA Card LSI SAS 9210-8i, Making the Chip Much Cooler
Recently, I moved my Network Storage System (NAS) components from a mini ITX case to a refurbished HP 8300 Small Form Factor (SFF) PC. I’m quite happy with this migration because the HP 8300 has more room, allowing me to add more storage drives in the future. Additionally, the airflow in this PC is better, so components like the CPU and HDD are much cooler.
To accommodate more drive bays, I added an LSI 9210-8i HBA Card, which serves to ‘multiply’ storage ports. This HBA card is designed for enterprise use, where servers are kept in very cold rooms with excellent airflow. Consequently, this HBA card is not equipped with a fan, only a passive heatsink.
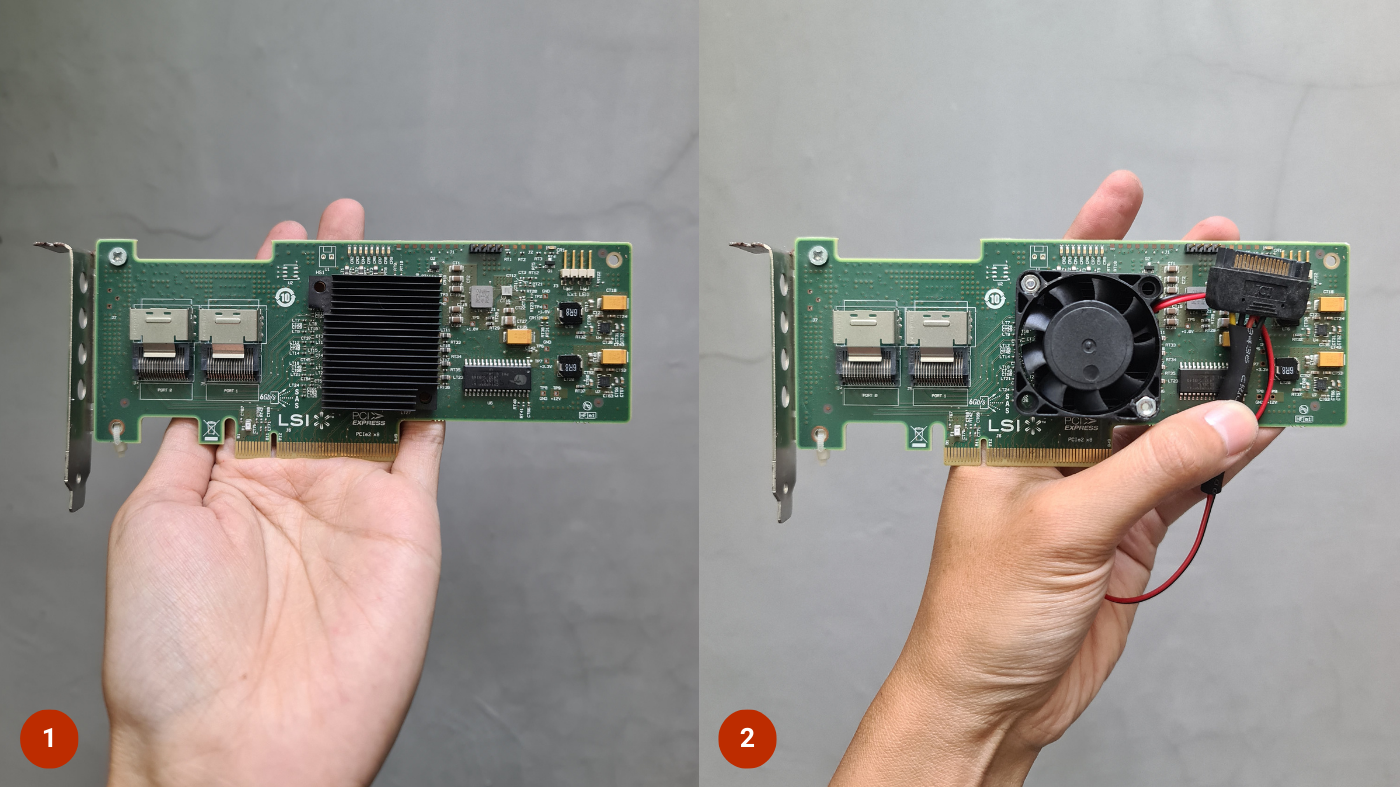
When working, this card tends to get hot. A simple way to check: touch the heatsink with your finger; if it feels too hot to hold, then it likely needs active cooling.
This modification might also be applicable to other series of HBA cards. These are the materials and tools I used to perform this modification:
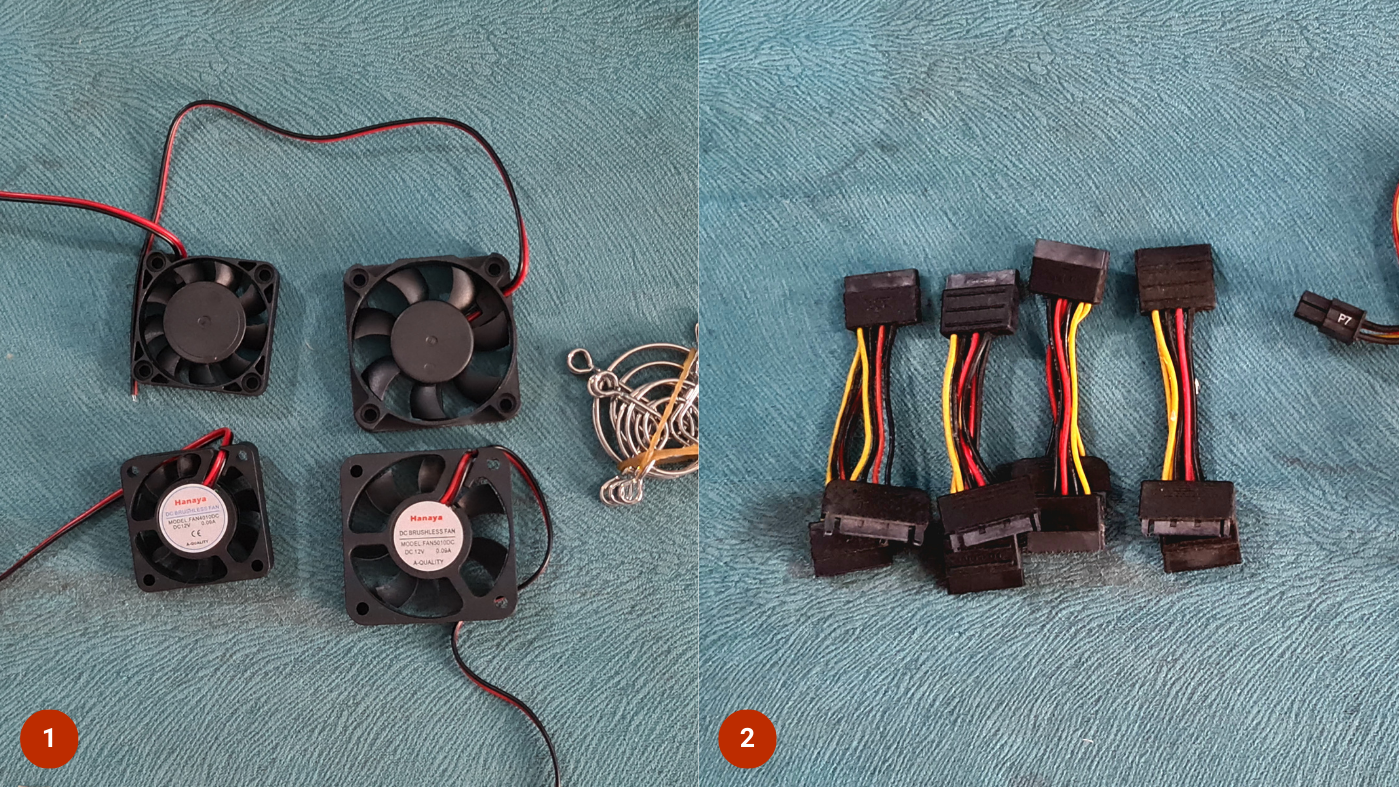
- Small 4 cm 12V fan, two wires - Tokopedia link
- Female SATA power extension cable - Tokopedia link
- 4 sets of M3 X 30mm or M3 X 40mm screws - Tokopedia link
- Heat shrink tube, sized according to the fan cable - Tokopedia link
- Soldering iron, solder, scissors, and electrical tape
Fortunately, the holes on this card’s heatsink are perfectly spaced for a 4 cm fan. So, installing the fan is very easy:
- Remove the plastic clips holding the heatsink. Press the clip from the top, then cut the retainer at the bottom with scissors. This part will not be used again, so it’s safe to discard.
- Cut 2 strips of electrical tape, make a hole the size of the screw shank, then stick it over the clip holes on the bottom of the card. This serves to keep the screw from touching the card components, thus avoiding short circuits.
- Position the fan so its holes align with the clip holes you just cleared. Then tighten by installing 2 screws and nuts.
- Solder the fan wires to the female SATA power connector. Ensure the fan’s red wire meets the yellow wire, and the black wire meets the black wire. Don’t get them reversed!
Those are the steps for the modification. With the addition of the fan, the chip on this HBA card can be cooler, and hopefully, it will last longer.
Stay tuned! 🚀